Rumata for AI builders

You built the first version.Build what comes next.

Give your AI-built app a place to save data, run its backend, handle real tasks, and reach users. Bring your GitHub project, keep shaping the code, and connect the pieces in Rumata.

Bring what you have. Make the next part work.
YOUR AI-BUILT PROJECT
src/
  App.tsx
  components/
  pages/
package.json
✓ Your idea is taking shape.
Bring it together
THE NEXT CHAPTER

Something people
can actually use.

Real usersData that staysConnected workflowsA live application
Your code + connected Rumata services · conceptual illustration

Keep working with your code

Start from an existing GitHub repository and review what it needs.

Connect the whole application

Screens, data, files, backend services, and workflows.

See beyond the preview

Inspect resources and follow the work your application runs.

From promising screens to a working product

Make every button lead somewhere useful.

Take an AI-built customer portal. The screens look right. Now connect the “Submit request” button to the information and actions your users expect.

“Keep my portal’s design. Make requests save properly, give each customer their own view, and add a review process for the team.”

Follow the example, one step at a time

  1. 01Bring in what you have
  2. 02Make the data real
  3. 03Connect the action
  4. 04Test it, then publish it
Step 01 · Your repository + Rumata workspace

Bring in what you have

Connect GitHub and select your repository for a workspace. Review the app’s framework, run commands, dependencies, and existing services before changing it.

You know what can stay and what needs adapting.
Illustrative example
Start with an inventory
Keep
The screens and code that work
Review
Runtime and dependencies
Connect
The services the app needs
A possible flow to build with Rumata · example data
Step 02 · PostgreSQL + storage + app access rules

Make the data real

Replace temporary demo records with a database. Connect uploaded files to project storage. Add sign-in and test customer-specific access in your application.

The application remembers the work and shows it to the right people.
Illustrative example
A request that survives a refresh
Request
Saved in the database
Attachment
Stored with controlled access
Visible to
The intended customer and team
A possible flow to build with Rumata · example data
Step 03 · Visual workflows + custom services

Connect the action

Use a workflow to receive and validate the request, save it, and notify a connected tool. Use a custom backend when your code needs its own runtime or dependencies.

Your interface becomes part of a complete process.
Illustrative example
Behind the Submit button
Input
Customer request
Process
Check → save → route
Result
A request the team can work on
A possible flow to build with Rumata · example data
Step 04 · Preview + deployment + run history

Test it, then publish it

Try the whole journey in preview. Review the frontend and services included in the release, then verify the same task at the live address.

You have a working journey to share, and somewhere to keep improving it.
Illustrative example
Ready for a real user
Before release
Test sign-in and a complete request
At release
Review the selected components
After release
Check the live customer journey
A possible flow to build with Rumata · example data
A few possibilities

The next version can do more.

Example ideas to shape around your own needs.

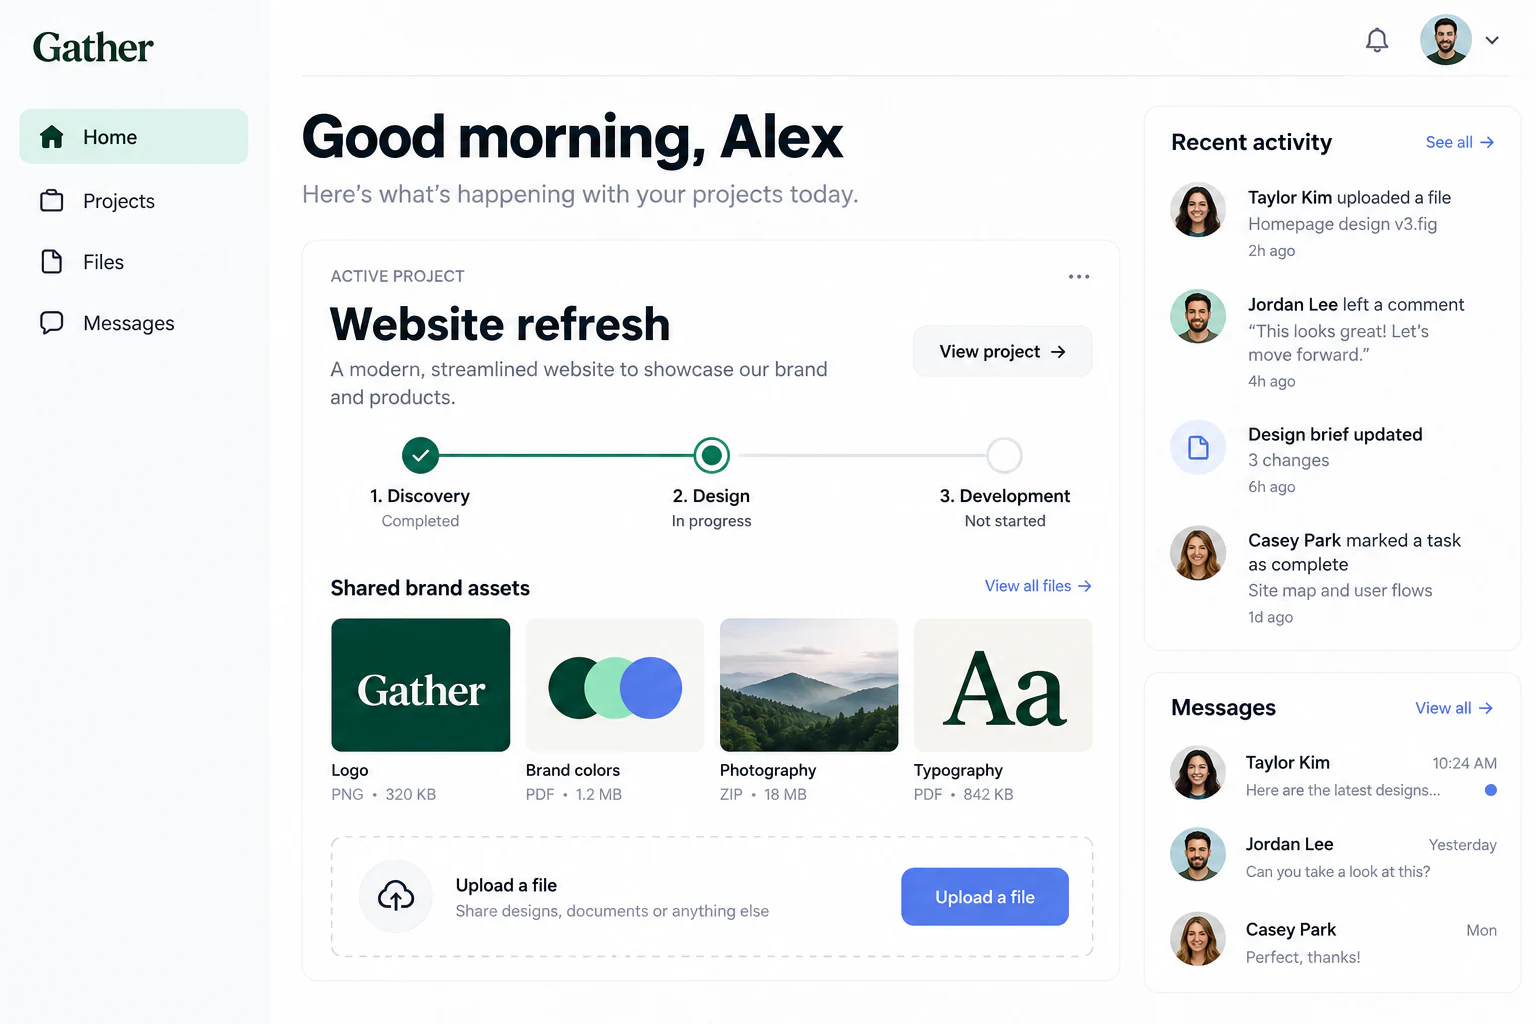
GatherExample website
Website concept: Customer workspace with project progress, shared files and team messages

A customer portal with real access

Connect sign-in, customer records, uploads, and a team review process to the interface you already made.

Continue with your project
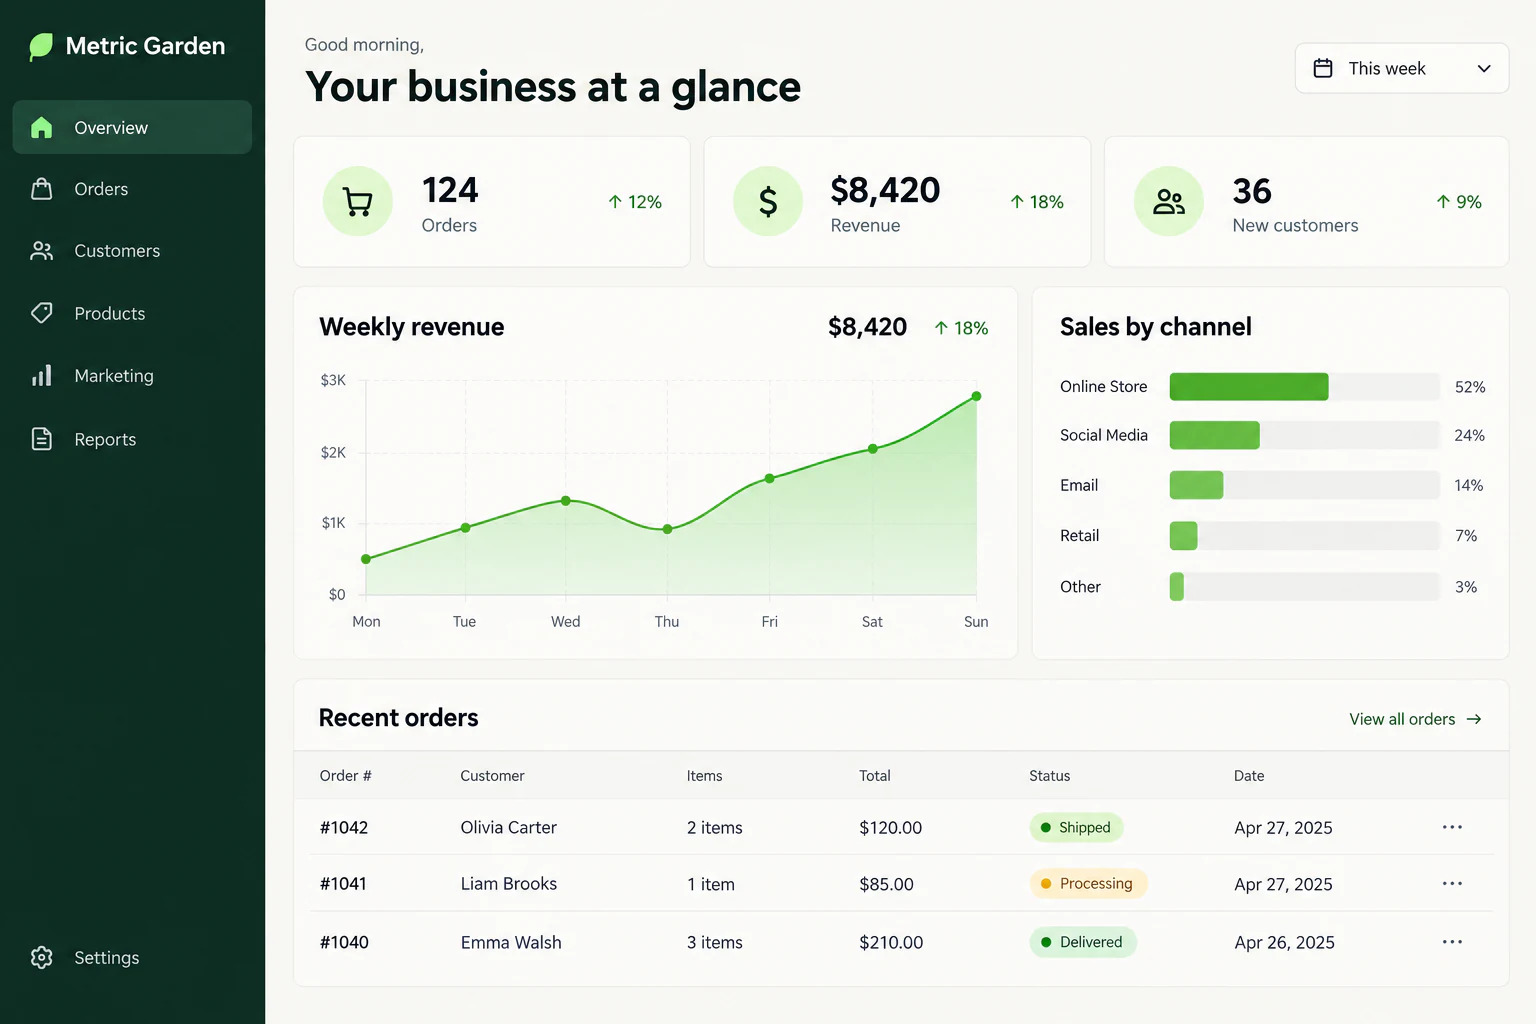
Metric GardenExample website
Website concept: Business dashboard with revenue charts and recent orders

A dashboard with live information

Replace hard-coded charts and sample rows with saved records and queries that reflect your application.

Continue with your project
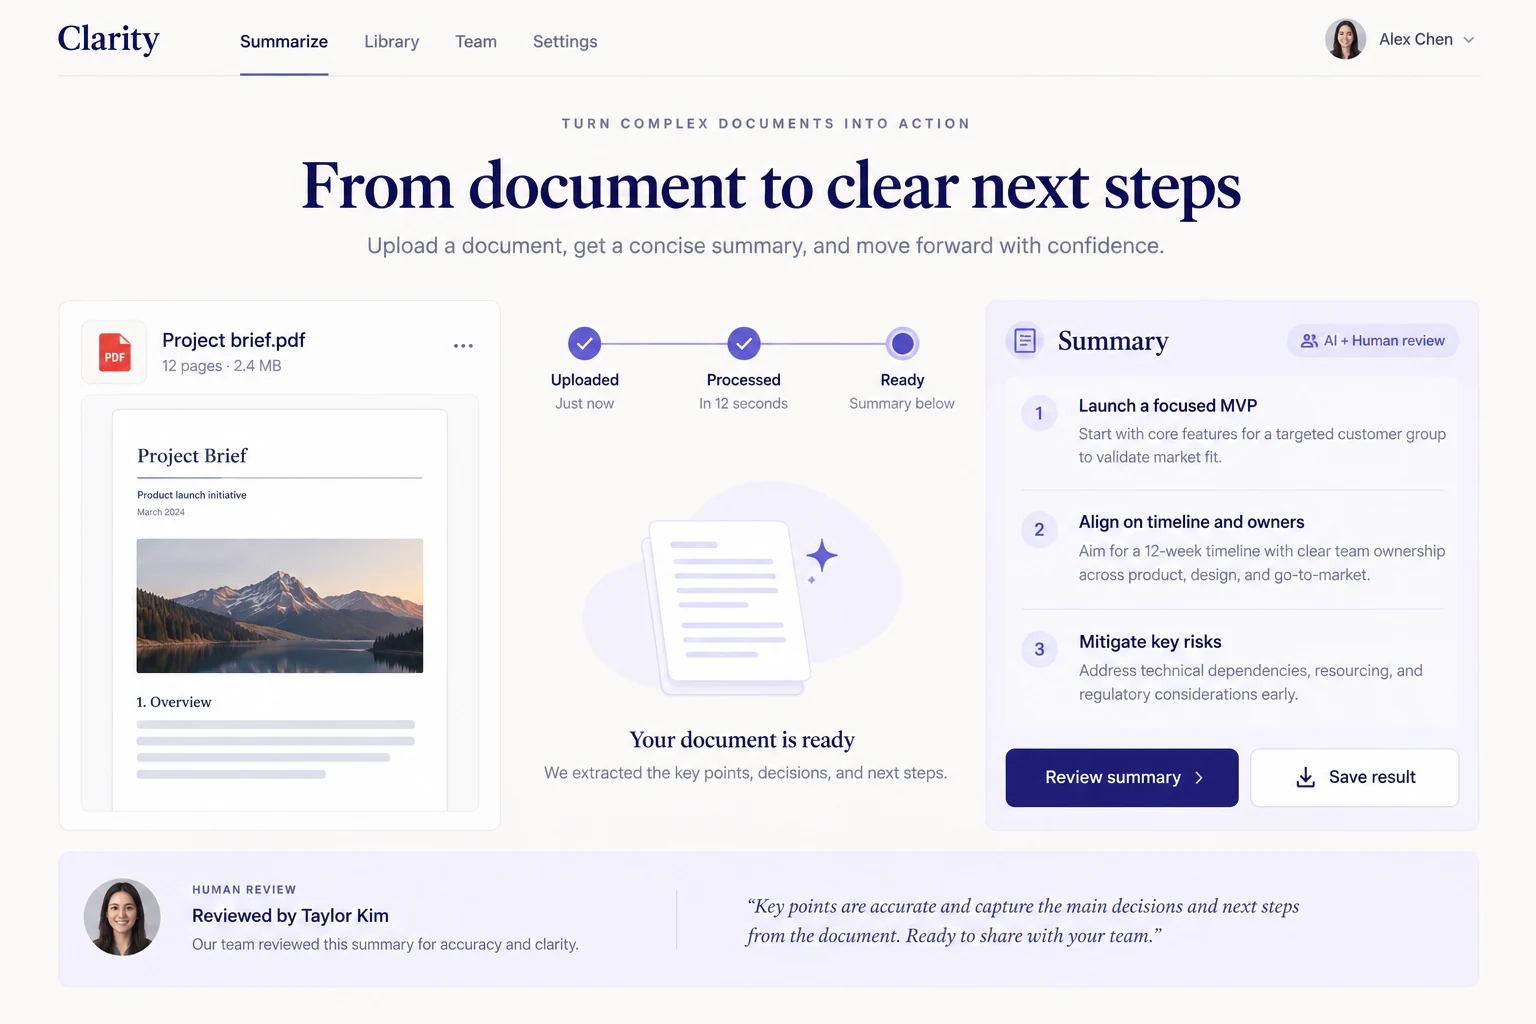
ClarityExample website
Website concept: Document tool showing an uploaded brief and a summary ready for review

An AI tool with a complete process

Accept a document, run your processing steps, save the result, and let a person review it.

Continue with your project
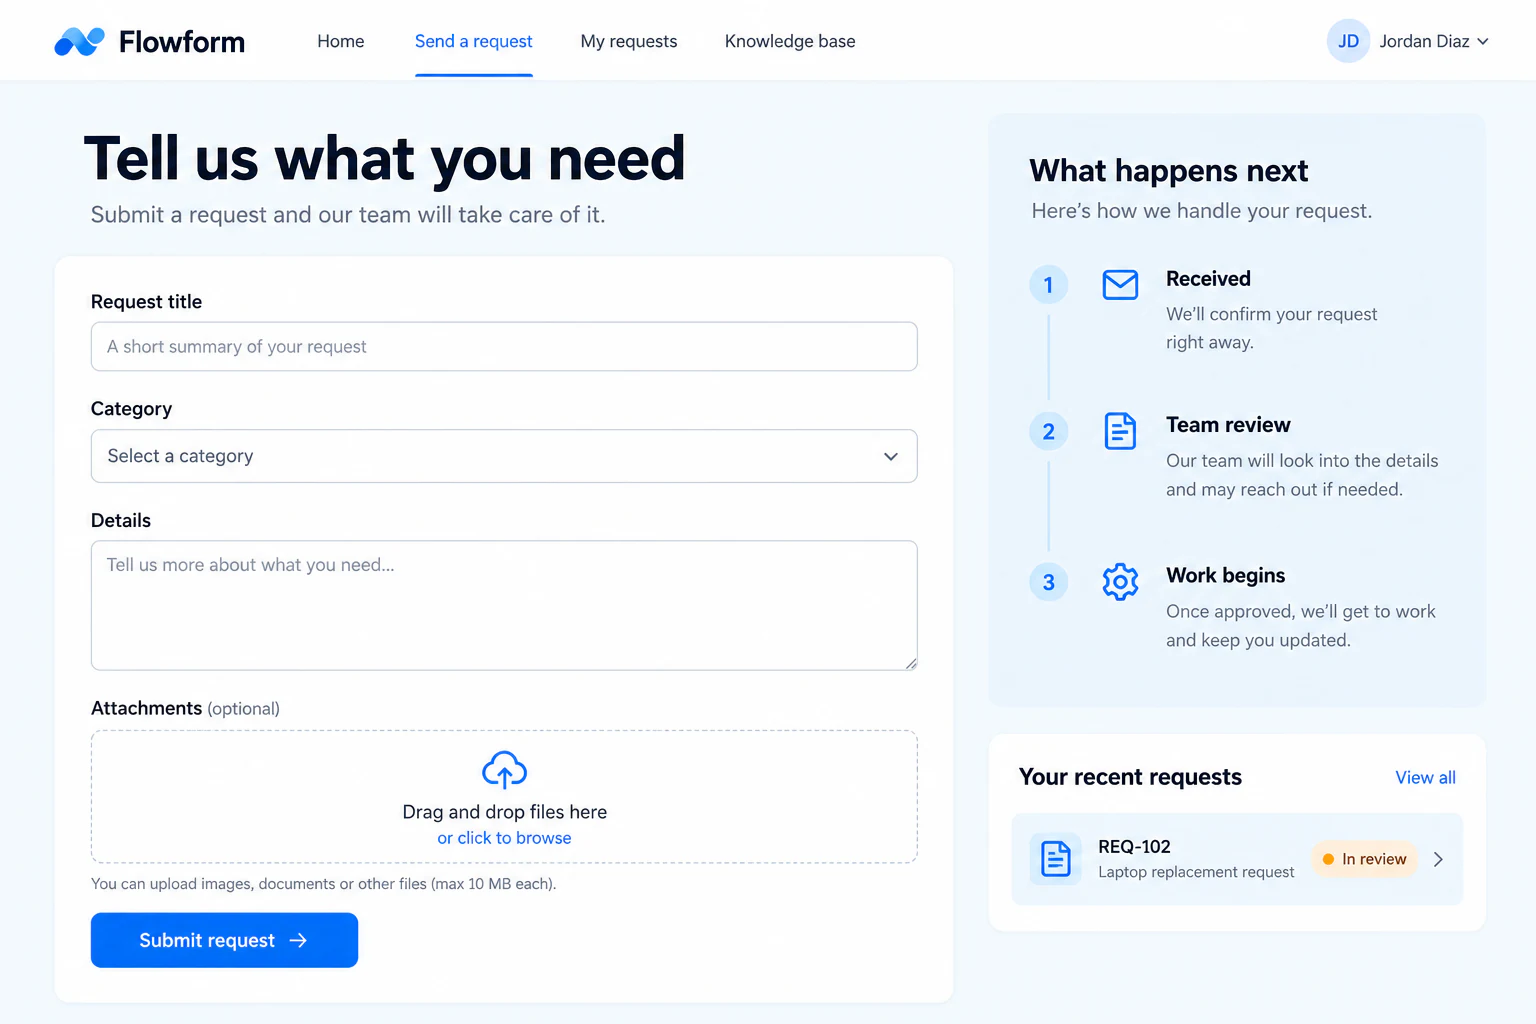
FlowformExample website
Website concept: Service request form with an upload area and a review timeline

A form that starts the work

Receive the request, check it, assign its next step, and show its progress back to the user.

Continue with your project
Your first useful version

Keep the progress. Plan the move.

  1. 01

    Review the existing app

    Identify what works, where it saves information, and which services it relies on. Start with the repository, not a blank prompt.

  2. 02

    Connect one complete journey

    Make one customer task work with real data and the intended permissions. Adapt provider-specific code where necessary.

  3. 03

    Publish with confidence in that journey

    Test the app, review the deployment, and repeat the same task on the live version. Then tackle the next improvement.

Clear capacity. Connected services.

Choose infrastructure and AI to suit the project.

Rumata offers Building plans with bundled AI and development-machine hours, plus Infrastructure-only plans with add-ons available. Check the capacity and AI funding your app needs before switching.

Explore plans
A little more clarity

Before you get started.

Can I use a project I already started?

Yes. Connect GitHub in your profile and select an existing repository when starting a workspace. Review its framework, runtime, dependencies, and service connections; bringing the code does not automatically migrate its data.

Can I keep using an external AI coding tool?

Compatible external agents can connect to Rumata through its authenticated MCP integration. Configure access in Studio’s Integrations area. You can also use Rumata’s built-in assistant or edit the source directly.

Will my existing backend move automatically?

No. Check its database, authentication, file storage, and external APIs separately. Decide which services to keep and which to move, then adapt and test the app’s connections.

Does Rumata add sign-in for me?

You can ask the assistant to build registration, sign-in, and user-specific views using the available backend operations or your own service. Application access rules still need to be implemented and tested.

Can I inspect or change the generated code?

Yes. The workspace includes a code editor, terminal tools, and source control. Work directly with the files or ask the assistant for a focused change.

Does a working preview mean the app is ready?

It is one step. Test the complete task, saved data, permissions, and connected services. Review the release, then repeat the task at the published address.

Rumata for AI builders

Your first version was the beginning.

Bring the project you have. Build the version people can use.

Bring your AI agent

Open Integrations to connect an assistant that supports remote MCP with OAuth. Choose the projects and permissions it can use.

Connect to MCP You may be asked to sign in or complete account setup.